|
| |
Well, I finally got the balloon inflated on November 28.
The weather wasn't perfect for the inflation because it was damp outside. But it was very
warm for late November, and there was hardly any wind. The weather was 'good enough'. I
may have said otherwise if it was the summer, but getting good weather this late in the
year is unusual. Not to mention, you can't fly on weekdays because there is not enough
daylight after you get off work. Actually, there isn't any daylight!
Although the weather was good, my family had just eaten a large Thanksgiving meal
prepared by my dad. Trying to get them enthused about ballooning after that was difficult.
I really appreciated all their work!
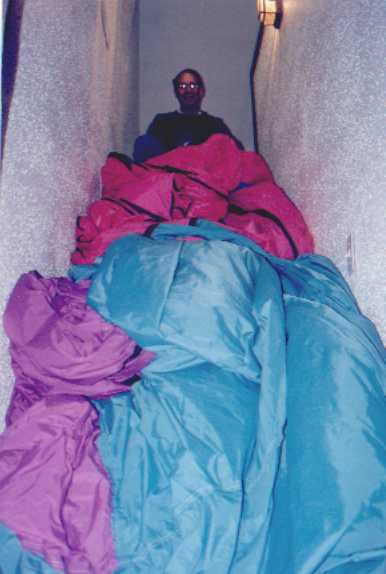 |
This is a photo of my dad helping me get the envelope down the stairs. How many other
aircraft could you just toss down the stairs? If the stairs were a big wider, I could
move the balloon in bag, but when it is packed in the bag I can't fit it through the
doorway. The doorway is only 24" wide to the attic in our house. They did not make
doorways very wide back in 1910 when the house was built.
|
At this point, the balloon was almost complete. There were two things missing. (Not
including legal paperwork.) The scoop and a crown line. Don Piccard said he didn't use a
crown line when he ballooned, so I though I might try inflating without one. Besides, it
was calm outside, and I hadn't done the work on the top to get a crown line fastened.
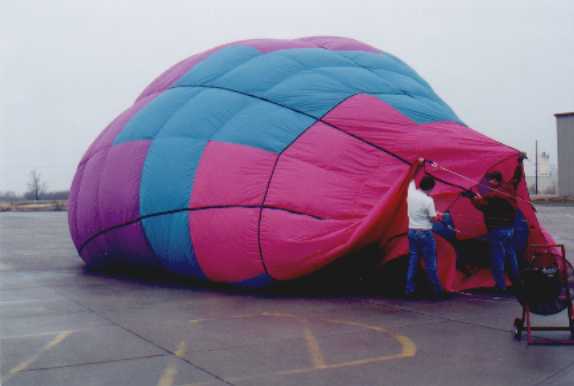
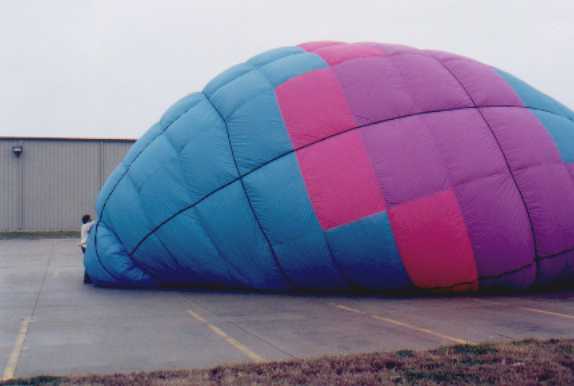
We took the balloon out to a parking lot and inflated it. It inflated well, but the top
was a tangled mess. I finally tied and untied enough lines to where only one line was
crossed. It was near the top of the balloon, so there was no way I was going to reach it
at that moment.
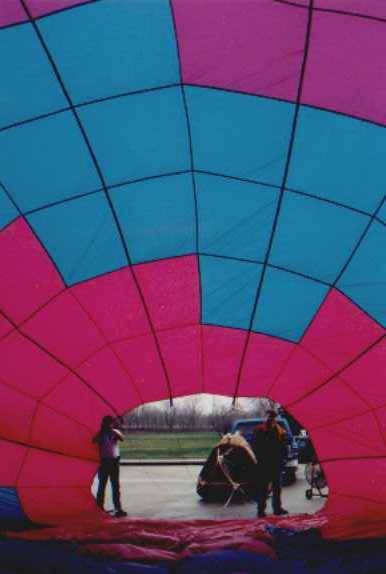
| Yea! The balloon holds air! You really never know how a balloon is going to look
until you inflate it. I admit, the balloon did not look quite how I had envisioned. I had
thought the blue would appear as more of a background color, but it stands out just as
well as the other two colors. |
 |
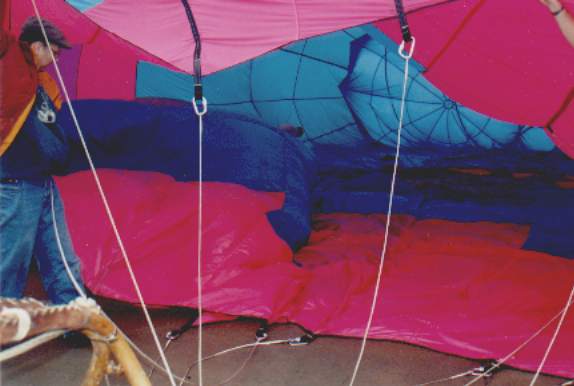
| In this image you can see how the cables are hooked to the load tape through the use
of carabiners. These carabiners are rated to over 6700 lbs. The load tape 4,000 lbs, and
the Kevlar cables that came off my old balloon are rated 2,000 lbs. So ironically the
weakest component of the system is the only certified balloon part! |
 |
 |
Here I am starting to try and figure out the top. I was in for a surprise when I found
how tangled the inside was. You can see the wrinkles in the fabric that come from a
combination of the balloon being new, and the builder being an amateur. These wrinkles
should disappear during the first hours I put on the balloon. |
 |
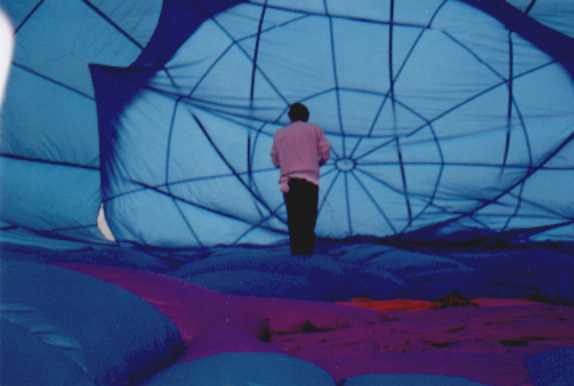
Looking from the top of the balloon towards the mouth. I have to admit that I think
the inside of the balloon looks better than the outside! It also looks bigger from the
inside because it is towering over your head. For you computer types, this image does
demonstrate jpeg picture compression artifacts quite well if you look at where the load
tape runs. |
| Looking from the mouth towards the top you can see me working to
untangle the parachute
top lines. The lines you can see in this picture are the load tape lines on the other
side of the top. They sort themselves out and are not actually tangled.
It took me a while to remember how to tie the knots for the top of the balloon, but I
eventually remembered and got the top untangled. |
 |
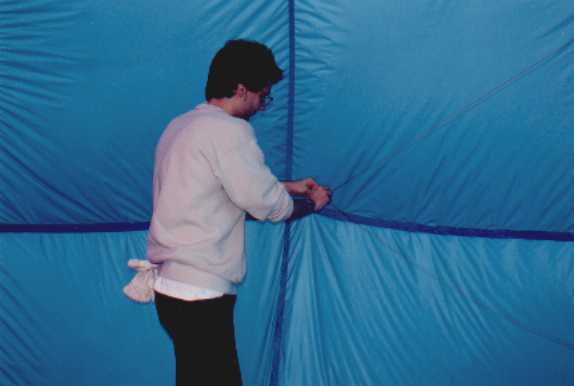
| Here I am just getting these lines untangled. You can see them go off in a triangle to
the right of my hand. |
 |
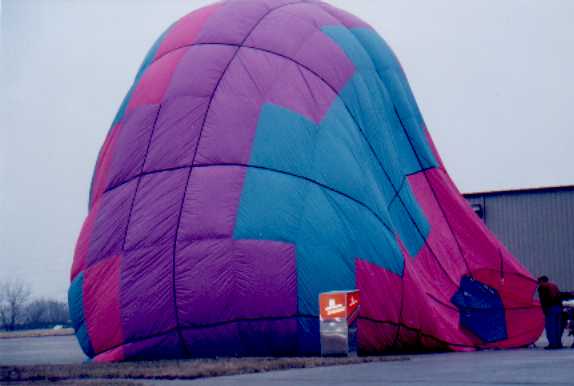
The balloon was well packed with air and everything looked good. I thought I would try
to stand it up. I had my dad and brother come back near me and hold the ropes away from
the burner. Without a scoop there was some air getting under the balloon, but not anything
that was a big deal.
| Here I am applying heat to the balloon. You can see it start to rise up. At this point
things look good for the most part. |
 |
When I started applying heat, the balloon came up loose. Without anyone on the crown line
it was no surprise, but the mouth was closing up on me. A couple things could have
prevented this. One, if there was scoop attached at the mouth. Or two, a person on the
crown keeping the balloon from rising too fast. Well, I made a third mistake when I
tried to back off the burner. I had an extra finger wrapped around the burner and it took
me an extra second to shut off the flame. That second just creeped by as I watched one of
my panels float into the flame!
Note: I say that last part with a bit of trepidation. Out of the dozens of people whom
have given me encouragement or advice, there are a couple that had to write and tell me
what an idiot I am and how far superior to me they happen to be. If you are one of
those rare people who feel the need to get a hold of me and try to bolster your own self
confidence by flinging a few insults my way, please don't bother. I do, however, always
enjoy getting specific suggestions on how to improve what I do.
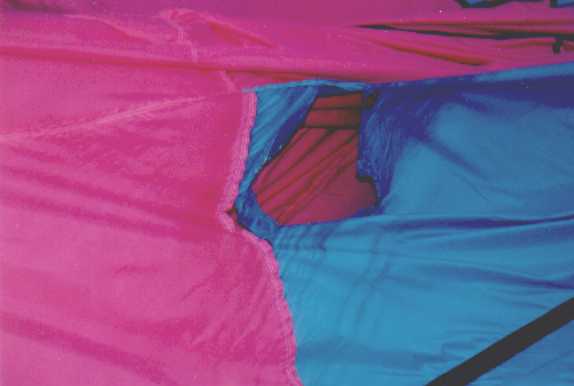 |
Whoops! This is the damage to the fabric. Thankfully it did not come close to any load
tapes, which would have been more difficult to replace. |
I wasn't upset about losing the panel. The fabric to replace the damage cost less than
$10, and it only took a few hours to replace the panel. That setback was so overshadowed
by the success of inflating the balloon for the first time I didn't care! Next time I'll
have someone on a crown line and probably have a scoop created too. At any rate, I'm
really happy to finally see the balloon inflated!
|
