![]()
![]()
![]()
|
|
|
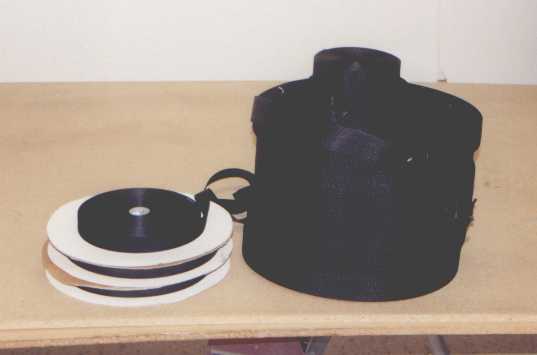
The load tape is what is supposed to carry all the load of the balloon. Below is a picture of the load tape that I used for the balloon before it was actually put on. I got the load tape from Don Piccard, along with a lot of helpful advice. The load tape on the right is six rolls stacked on top of each other. (plus some spare on top) that will make the vertical load tapes. The cool part is that the vertical load tape goes up and over the balloon with no splices. So I have 6 load tapes for the 12 gores. The load tape for panel 1 goes up and over and comes back down panel 7. Thus the only sewing job on the load tapes that is critical is where they join the cables on the basket. Some early balloons worked quite well with load tapes only rated to 600 lbs. These vertical load tapes are rated to 4,000 pounds, giving us a wide safety margin. Note: It is highly advisable that you shrink the load tape before sewing it onto your balloon! The nylon webbing will shrink once you get it warm in the balloon. If you loosen up the spool and stick it in the oven for an hour at 250 degrees or so, you will get much of the shrinking done ahead of time. If you don't pre-shrink the load tape, it will shrink in the first few flights of your balloon. This is likely to make the balloon look less like it is professionally made. The load tapes on the left are for the horizontal load tapes. These are used at the top of the gore, the bottom of the gore, and three places in between. They are not rated as high as the vertical load tapes, but the only time they will carry load is when I'm in a wind shear or if the balloon is being handled on the ground.
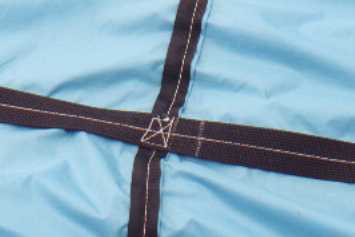
When the vertical load tapes intersect the horizontal load tapes we make a junction. As you can see, here I have sewn a box with an 'X' in it. I have found that it is easier to sew the whole vertical load tape on, and then go back and do the junctions.
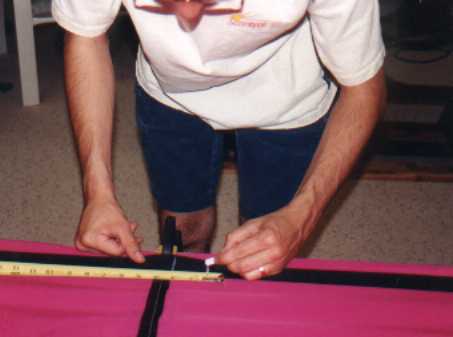
In order to better transfer the balloons load onto the load tape, we make the load tape shorter than the fabric we are sewing it onto. This makes the fabric bow inward. If you can't quite visualize this, imagine taking a tight string and pushing it against a puffy pillow. You are doing the same thing there. This balloon won't bow in that much. For each of the 58" gores, we shorten the load tape one inch to 57". Here I am making chalk lines on the load tape to shorten it up. As we pin the tape onto three panels at a time, we first stretch the tape across all the panels, the mark one inch on the first panel, two on the second, etc. Here you can see I'm working on the second gore down.
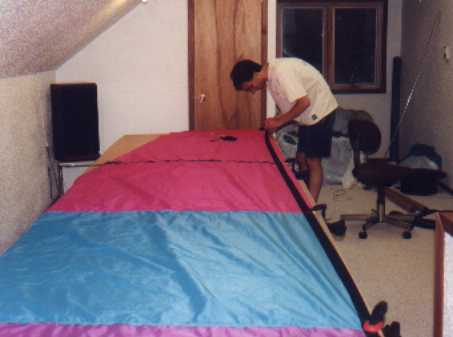
Here you can see me starting to pin the load tape onto the center of the gore. We found the center by folding the gore in half. Sounds easy, but it is a bit hard when the fabric gets wide. Those quick-clamps are a great tool to use to keep the fabric from moving on you.
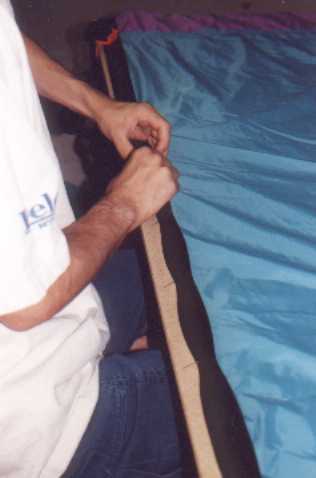
And below is a close-up of me pinning on the load tape. It is difficult to get the big long needles I use through two layers of load tape and two layers of fabric. Usually I used turned the tape over and pushed the head of the pin in using the table to press against.
|