![]()
![]()
![]()
|
|
|
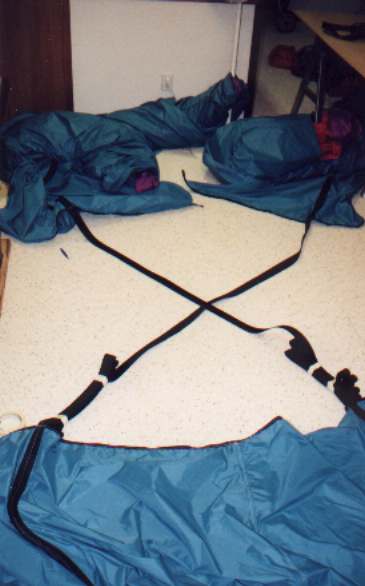
Sewing the gores together is something that you look forward to throughout much of the project. Although it doesn't quite compare with how much you look forward to inflating the balloon for the first time! The first gores are the easiest to get together because you are not dealing with such a large amount of fabric. Once you get more fabric together, the balloon becomes more difficult to manage. It is not only possible, but quite likely that you will end up tying your balloon into one big unmanageable knot from time to time. Since I am running my load tape up and over the top of the balloon without breaking the load tape, I do the gore in pairs. Each pair consists of a gore and the gore opposite of it in the balloon. So gore 1 is paired with gore 6, gore 2 with gore 7, etc. Now here is a big cosmetic concern: You have a 50% change of getting the load tape 'flipped' when it goes from one gore to the next. While it does not affect flight characteristics, it is nice to make sure that you keep the load tape from having a twist while it goes over the top. Just lay the load tape flat on the table and keep it that way while you are measuring. This will prevent any twist. It is easy to get one in there; my top it 18' 4.8" in diameter and I have to make sure there are no twists along it. The place where you will get into trouble is if you forget to check at all. That is how I got my one twist that exists between gores 2 and 7. Don Piccard bet me that I would get at least one twist in the balloon. I guess I owe him a nickel now. When you sew the pairs together, it is necessary to keep the load tapes in an ordered pattern with respect to where they cross over the top. For instance, gore 1 crosses above gore 2 which is above gore 3, etc. This is where having a lot of floor space can help. In the picture below, I've got gores 1 and 2 sewn together. I am laying out the gores to figure out how 6 and 7 go together.
It can take a lot of room to lay these out. This is half the balloon's mouth.
|