![]()
![]()
![]()
|
|
|
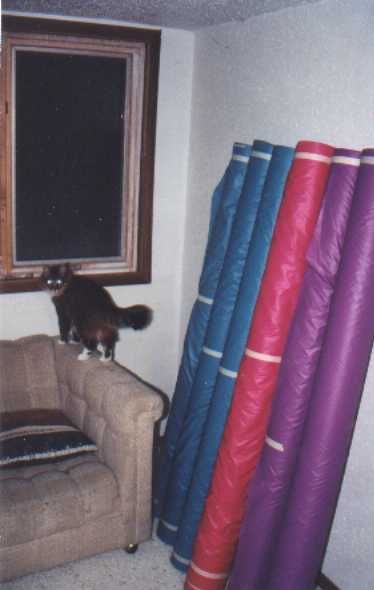
Below are the rolls of fabric for the balloon. Theoretically they are 100-yard rolls. The fabric company will take the liberty of being able to ship you plus or minus ten percent of what you order. For me it was plus ten percent. You have to pay for that extra, so be sure you are ready to shell out an extra ten percent.
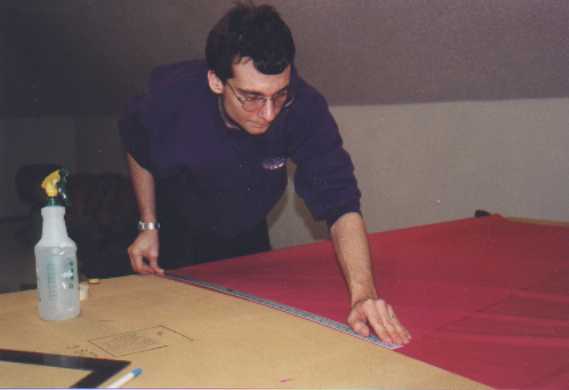
What I didn't know when I ordered is that a roll may not be one continuous piece. A few of these rolls are cut in the middle. My understanding is that this is where the manufacturer cut out pieces of fabric that did not meet inspection criteria. If you purchase fabric seconds, you have to cut this stuff out yourself. I actually ended up with only a spare inch of red fabric. I'm sure I will end up buying more red fabric later, as it is the fabric at the mouth of the balloon. As that fabric is the most likely part of the balloon to get damaged, I'd recommend ordering extra. Even with first-rate fabric, keep an eye out for defects. Sometimes the fabric may not be coated correctly. Once, I even had a bee squashed in the roll. Below is a picture on how I measured my panels. In order to keep everything aligned, I fold the panel in half and cut both edges with one cut. My first cut was not done this way. I made the rookie mistake of assuming that the squares in the fabric were square with the run of the fabric. It sure looks that way! Unfortunately it will quickly become obvious that is not the way the fabric works. So my second panel worked much better.
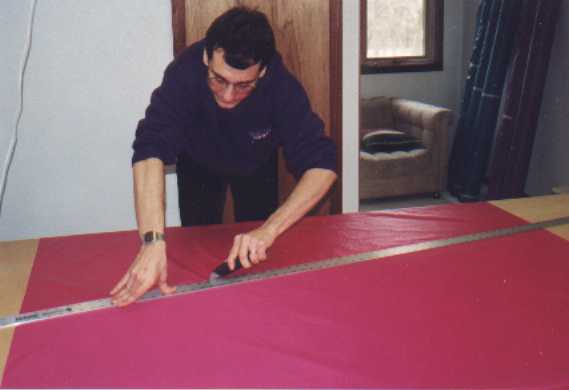
In the next picture I am using a sheet of particle board on a couple sawhorses for a cutting table. When the panels became to big, I used another table from the house for a while. Later I gave up and I finished using two 4x8 sheets of particle board. This works really well for my and I recommend it to anyone. I bought a long metal ruler that allows me to make the full length of the cut with one swipe. After this picture was taken I learned to clamp the ruler down before cutting. This allows me to cut faster, and not worry about the ruler slipping. I recommend changing razor blades often. I got a large pack of them, and go through both sides of one about every 12-15 panels.
You might wonder where my head is in this picture. No my wife didn't miss with the camera. I looked so terrible that I cropped it out. The purpose of the picture below is to show that I cut all the same-sized panels at the same time. Then I stacked them on top of each other. This provided a nice check to make sure the cut was the right size. After I cut a hundred or so panels, I gave up on this as I was always within a quarter inch or less on the cuts. Besides, if I do have the wrong dimensions, it shows up very quickly when trying to line it up with the other panels.
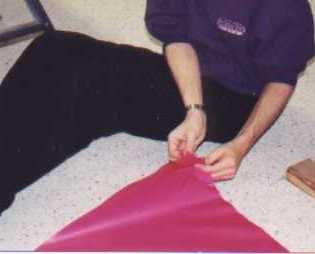
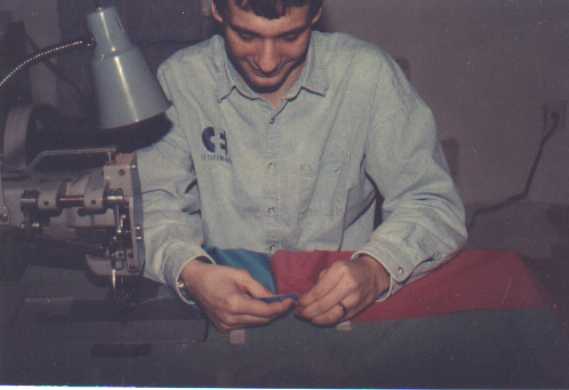
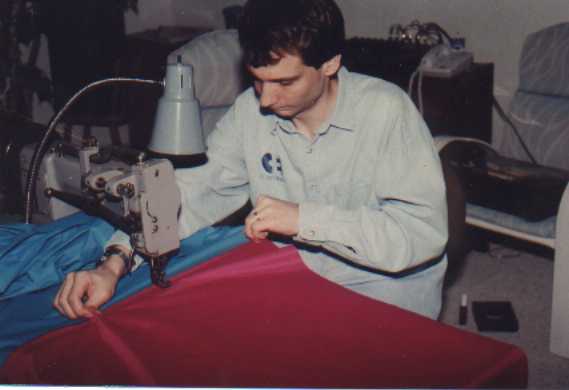
This is me showing my sewing technique. First I put in a couple pins at the beginning of the seam to hold it in a flat-fell style.
Next, I grab the seam near my chest and fold. I'll use the other hand help the rest of the fabric fall into the fold. Then I sew this section and start over again.
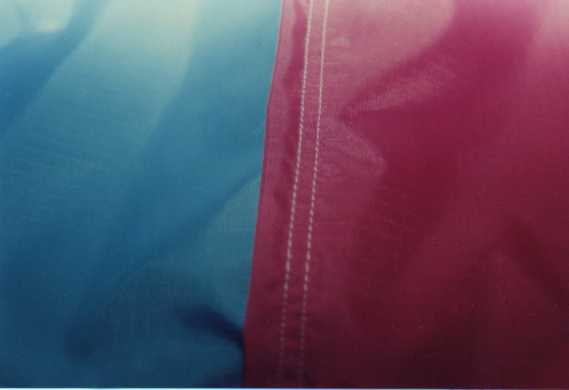
Below is a finished seam!
|