![]()
![]()
![]()
|
|
|
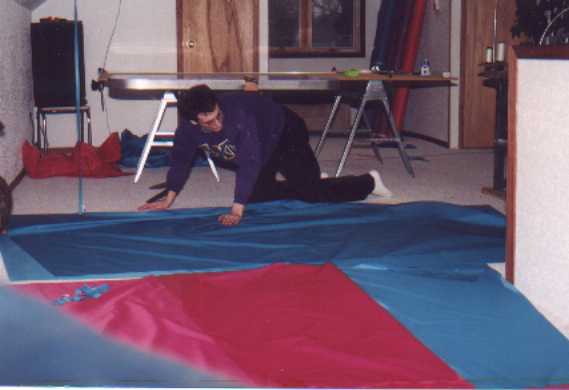
Below is a picture of me working on the third panel up. You can see that for cutting the panels I have already had to add another table to my set up so I will have enough room. Two pictures below shows after I added a second sheet of particle board to the setup.
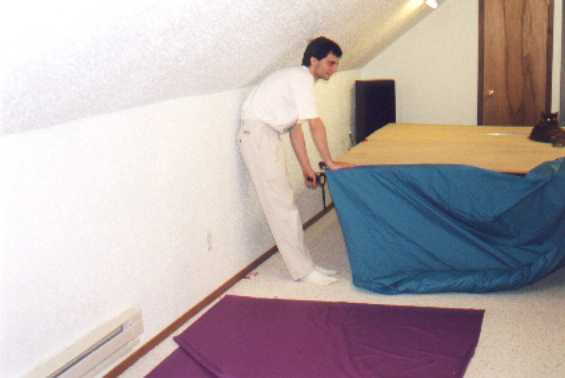
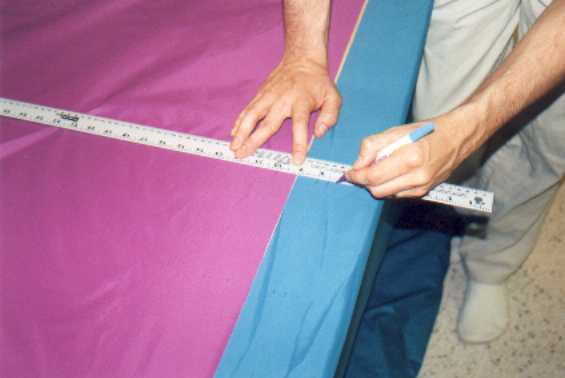
This is how I go about marking out the fabric. I first clamp one end of the fabric to the table. The rest of the panels are rolled up, and I have to unroll about one panel's worth to get it sewn.
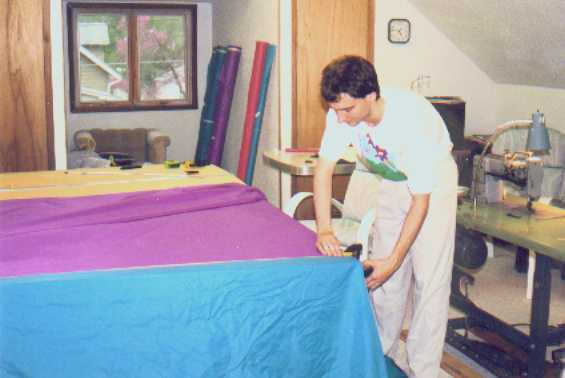
The picture below shows me clamping the other end. I have already put the new panel to be sewn next (the purple one) above the gore clamped to the table. As you can see, the table isn't long enough to mark the entire thing at once, so I have to do it in two steps. Notice the rolls of fabric in the background near the window. You can see the amount of fabric I have used to get this far.
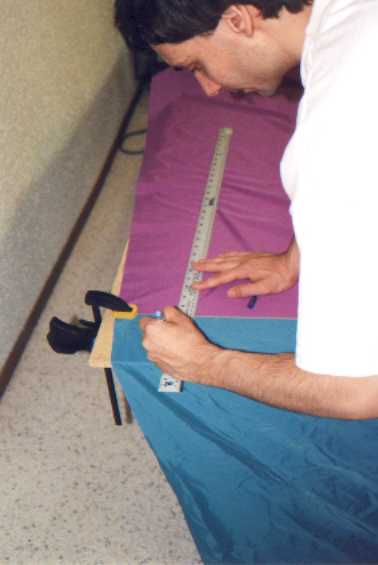
On the leading edge, I will put a couple marks close together. This makes it easier to pin.
Here I am marking the rest of the fabric. If you look closely you can see the marks. This marking takes almost as long as sewing. If you don't count the time it takes to switch bobbins or the occasional adjustment to thread tension, sewing is faster than marking. When I first started the balloon, it was not unusual for me to spend several hours in front of the machine trying to get it adjusted properly. I became much better at this as the project wore on.
|